
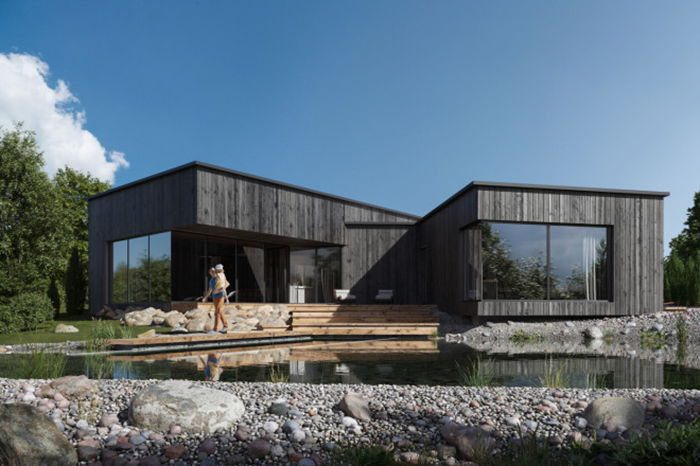
Architectural 3D visualization helps transform blueprints and floor plans into clear, understandable imagery: clients can see the proportions, materials, lighting, and atmosphere of the future space before construction even begins. This reduces the risk of misunderstandings, speeds up the approval process, and makes project presentations more compelling.
A well-executed visualization is not merely a “pretty picture” but a design tool. It reveals errors in composition, lighting logic, and finish selection, while helping to compare options and make decisions based on clear, visual scenarios.
Practical tips: improving results and saving time
To avoid reworking the scene at the final stage, establish requirements upfront: determine the necessary camera angles, the expected level of realism, approved materials, and essential elements that must be included. Quick previews are useful for the approval process, as they confirm composition and lighting before detailed work begins.
If a project involves custom items (such as bespoke furniture, light fixtures, or landscaping elements), it is worth modeling them with an appropriate level of detail so they can be reused across scenes. In some cases, 3D product modeling services can be helpful when high-quality models need to be prepared quickly for visualizations and presentations.
A pre-delivery checklist: verticals are not skewed, furniture scale is realistic, materials do not look “plastic,” lighting emphasizes volume, the image is clear and uncluttered, key areas are shown from specific angles, and images are prepared in the required sizes and formats.
Choosing the right software for the task: exteriors, interiors, concepts, and working documentation
Selecting the right software saves time at every stage—from initial sketches to final renders and the production of technical drawings.
A single project often requires various tools; therefore, it is important to base your choice not on the “most popular software,” but on the specific task, deadlines, and requirements regarding quality and output formats. The optimal strategy is to assemble a combination of two to four programs covering modeling/BIM, visualization, post-processing, and—if necessary—documentation compilation. Below is a practical guide for making a choice based on typical scenarios.
What to choose for a specific type of visualization
- Modeling: BIM/polygons (depending on the stage)
- Rendering: engine with strong lighting/materials and a stable camera
- Environment: vegetation libraries/scattering tools
- GI and sun/sky quality, exposure control
- Scattering and large-scene optimization
- Support for proxies/instances and LOD
- Modeling: BIM + detailing in DCC software if necessary
- Rendering: engine that handles indirect light and noise well
- Materials: PBR, texture library, correct UV logic
- Clean frame speed (denoising/sampling)
- Ease of artificial lighting setup
- Catalog models and dimensional accuracy
- Rapid massing (simple modeling)
- Real-time/fast previz, followed by refinement to the desired level
- Strong post-processing and collage techniques
- Iteration speed and ease of making changes
- Asset libraries and ease of scene assembly
- Stylization flexibility (beyond just photorealism)
- BIM/CAD as the “source of truth” for geometry and parameters
- Visualization as a separate branch/export for presentations
- Version control and standardized output templates
- Parametrics, schedules, sheets, tags
- Import/export without losing scale or coordinates
- Stability, standards, and collaboration
Rule of thumb: if the project relies on constant changes, Keep your core data in BIM/CAD and handle visualization through a workflow combining exports and reusable assets. If the project is for a presentation where the “wow factor” is key, prioritize flexible modeling, asset libraries, and rendering or real-time engines.
The bottom line: there is no single “best software”—only the right pipeline combination for exteriors, interiors, concept work, or documentation. Choose your tools based on iteration speed, team stability, format compatibility, and quality requirements—and 3D work will transform from a mysterious “magic trick” into a predictable production process.